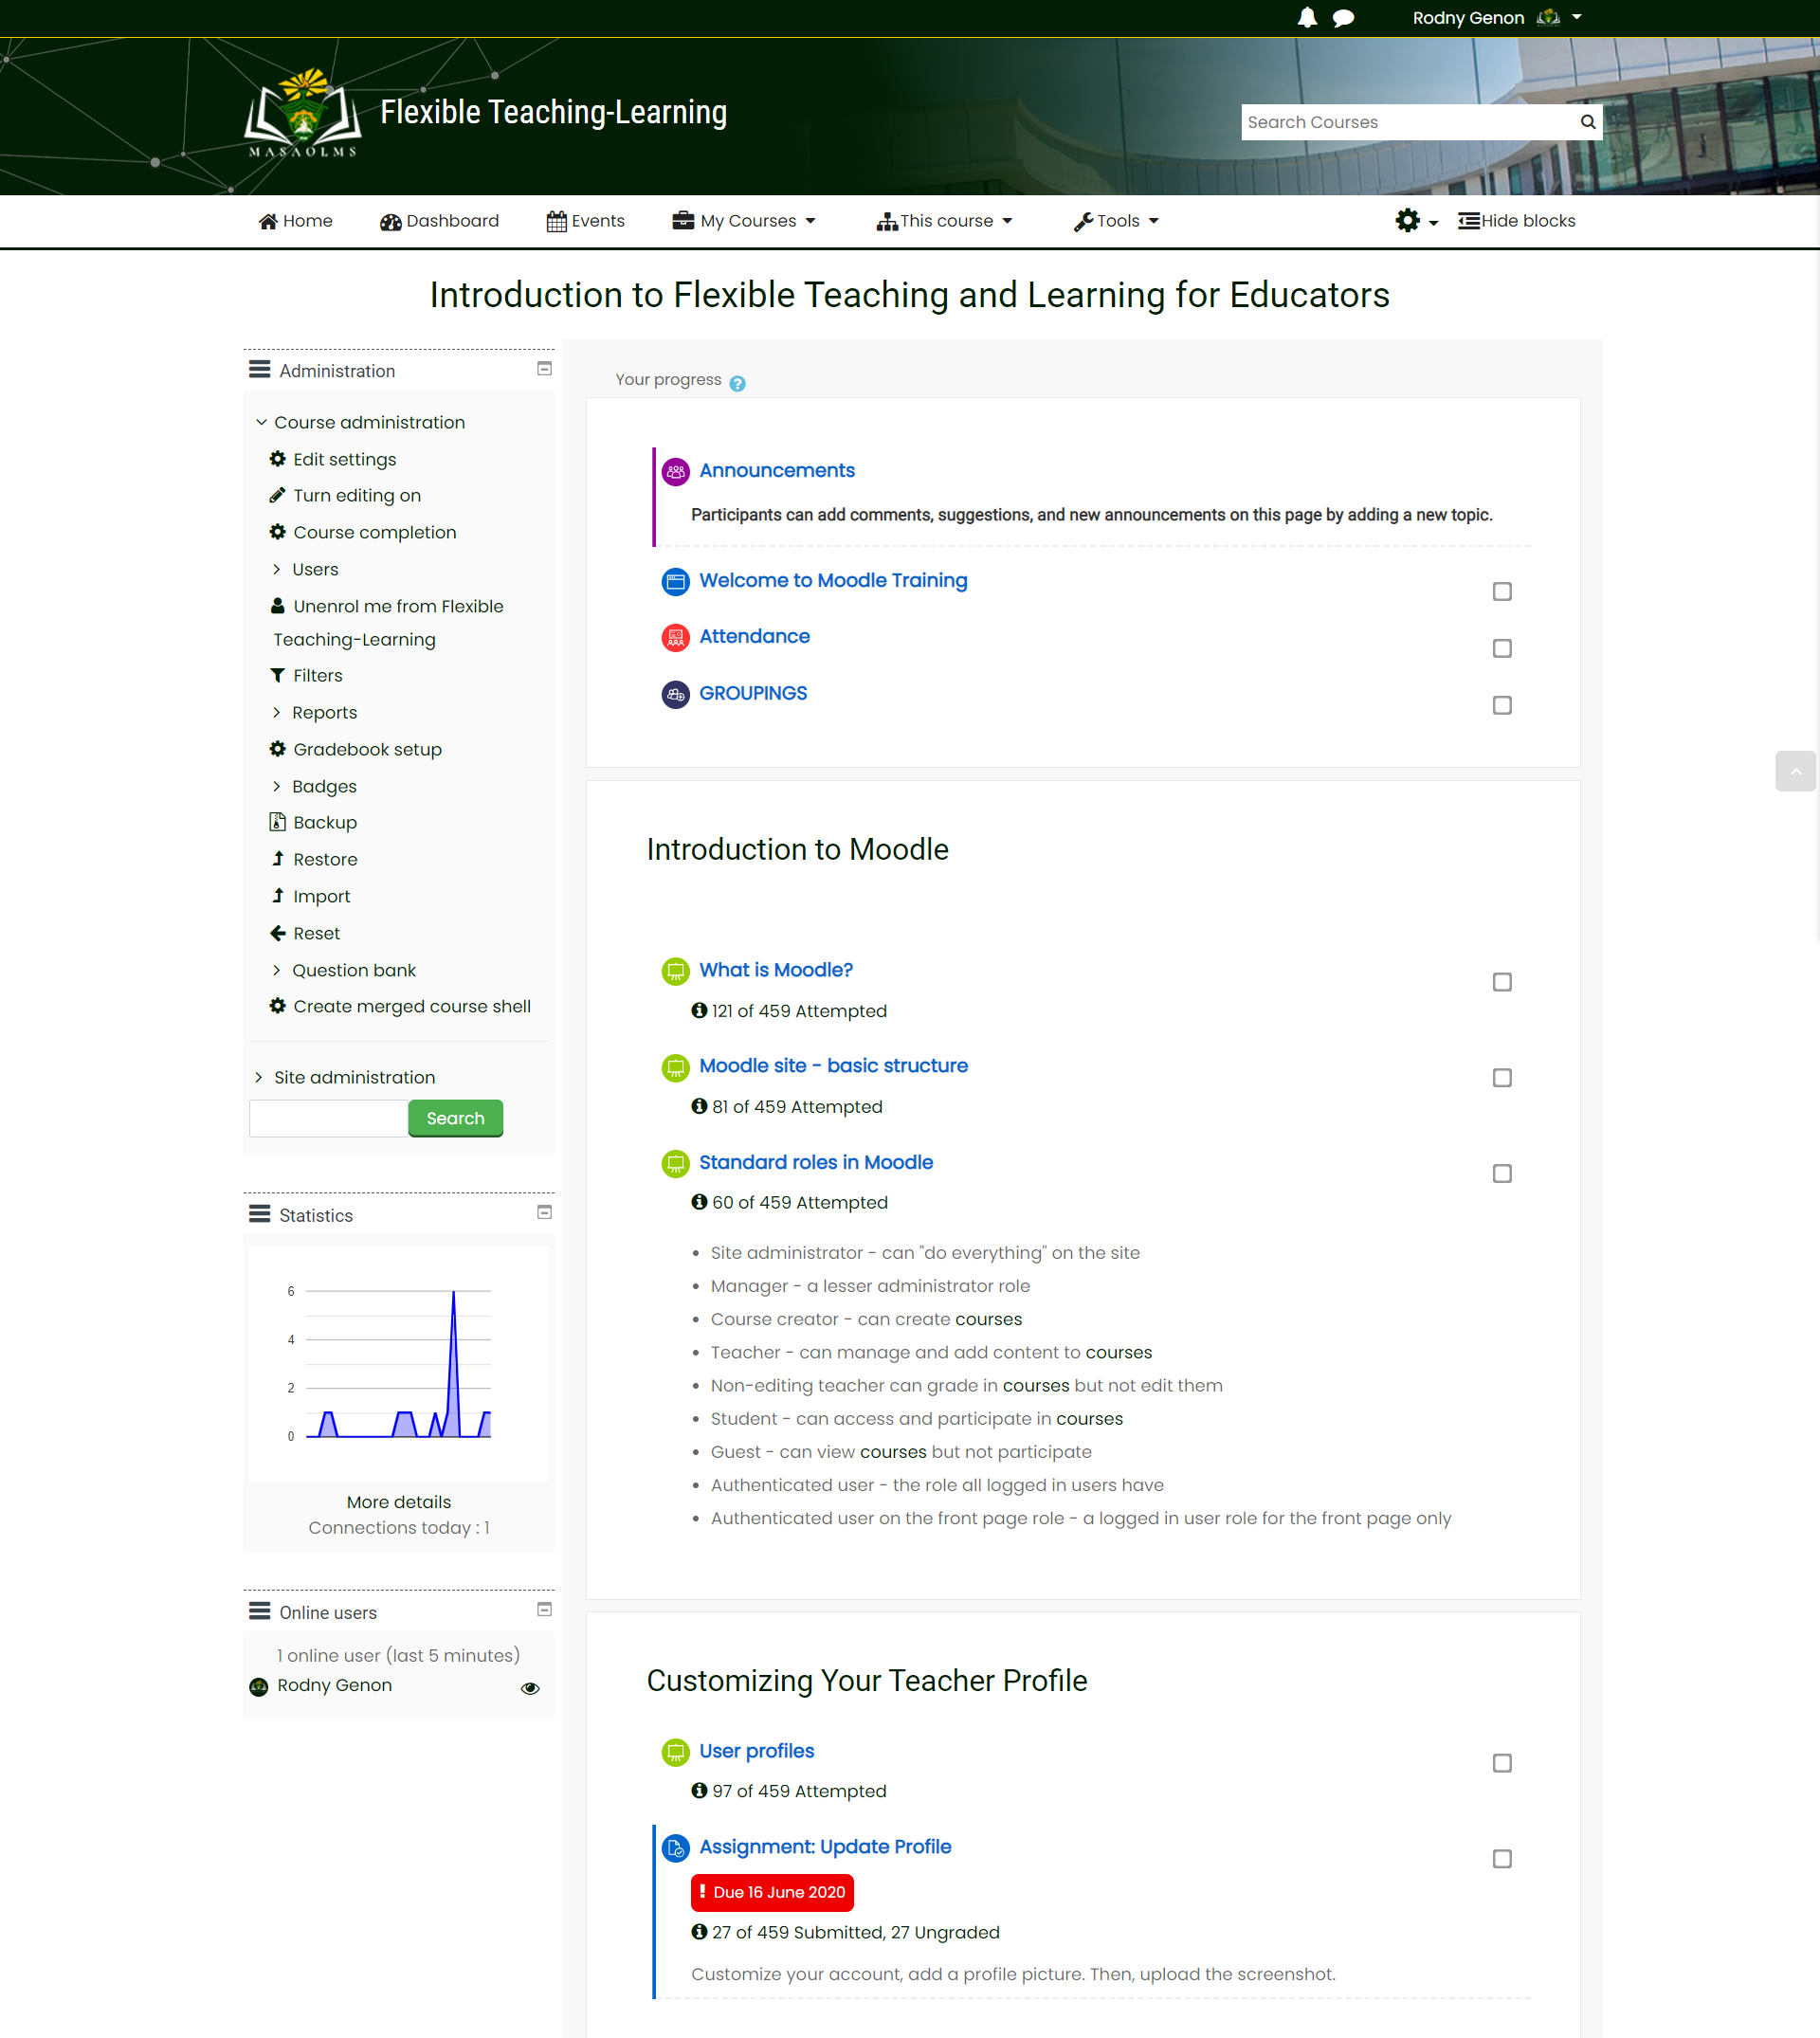
What is Moodle?
Moodle is a platform for online learning that enables you to create e-courses, add assignments, and keep an eye on your students’ progress. It also allows you to communicate with the students and encourage communication between them in forums and discussions. In short, the platform is multi-faceted and flexible, so it’s easy to get confused when learning your way around for the first time. This activity teaches the faculty of Moodle basics and some of the main tasks that the teacher needs to perform. They will learn how to create courses and tests for Moodle and how to enroll learners, provide them with assignments, and track their results. Moreover, this training will not cover the system administration part.
Standard roles in Moodle
- Site administrator - can "do everything" on the site
- Manager - a lesser administrator role
- Course creator - can create courses
- Teacher - can manage and add content to courses
- Non-editing teacher can grade in courses but not edit them
- Student - can access and participate in courses
- Guest - can view courses but not participate
- Authenticated user - the role all logged in users have
- Authenticated user on the front page role - a logged in user role for the front page only
Customizing Your Teacher Profile
Every user has a profile page which may be reached from the user menu top right and then clicking Profile. This page contains links to further pages allowing the user to edit their profile information and preferences, view their forum/blog posts,
and check any reports they have access to.
The Privacy and policies section provides links for contacting the Privacy officer, requesting data export and account deletion, along with a data retention summary page (unless disabled by the administrator).
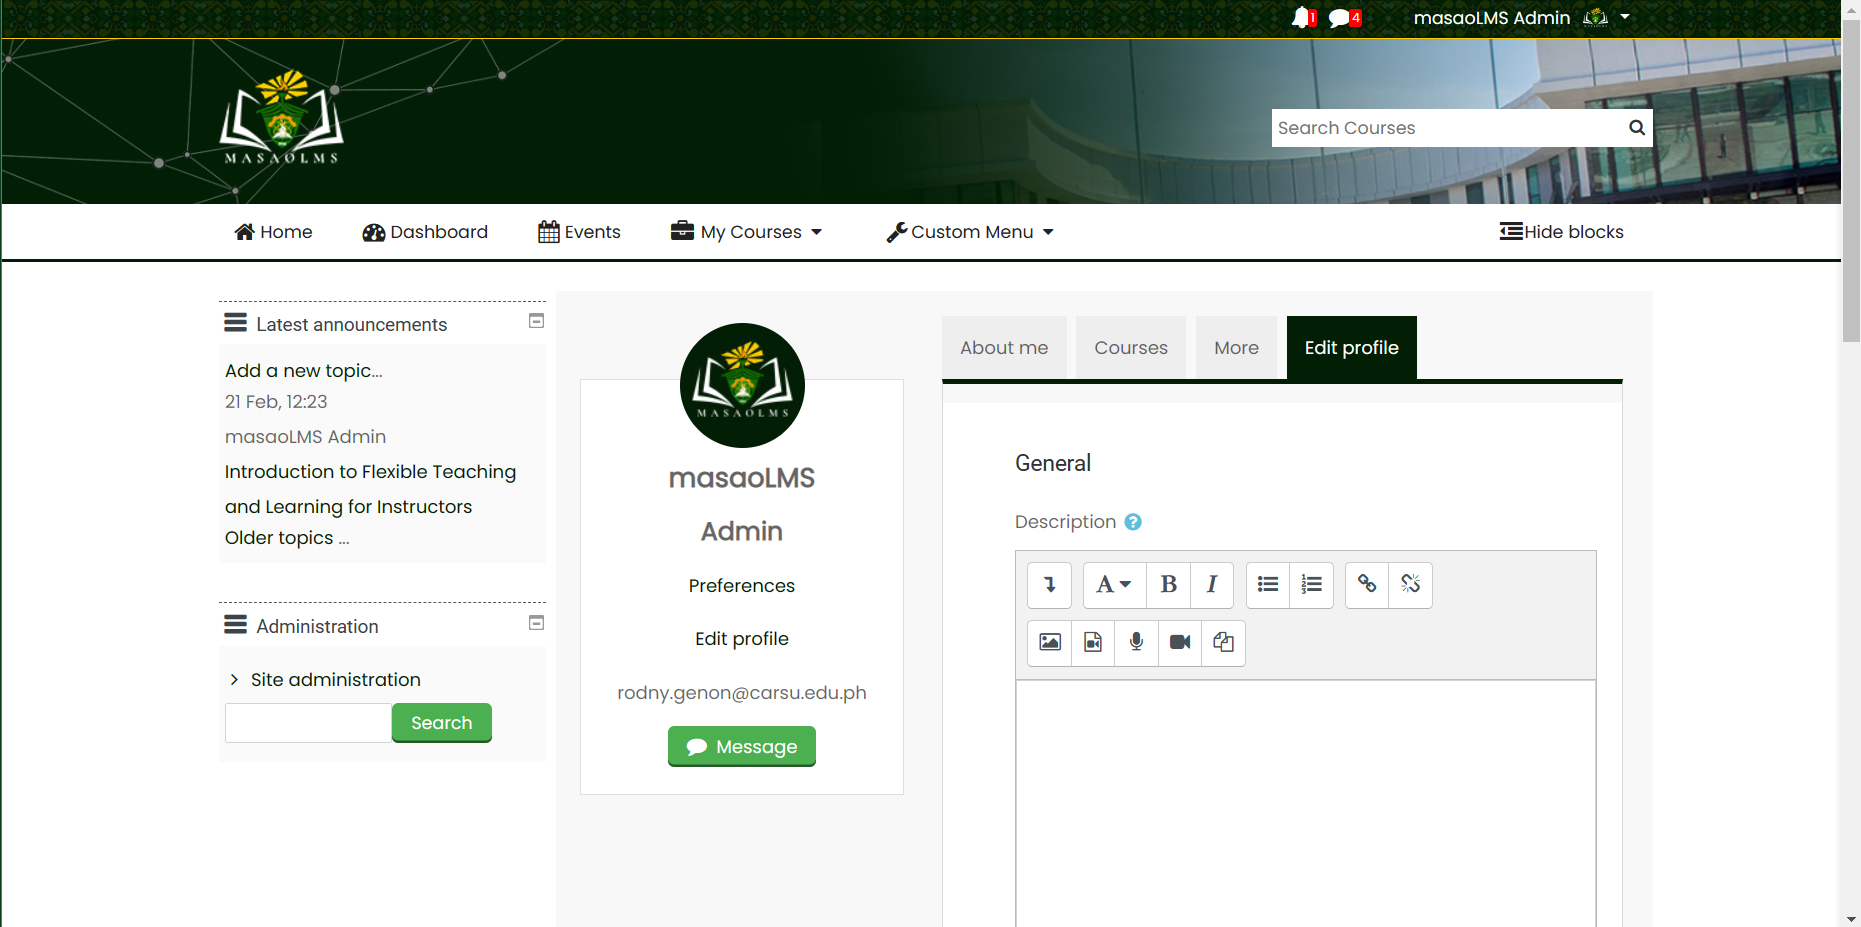
Example of a user's profile page.
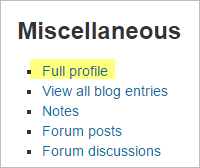
Viewing others' profiles
Users with permission to view the profiles of other users can view them by clicking on their names. If they click on the name of a user within a course, the course profile will be displayed and the full profile may be viewed (if allowed) by clicking the link "Full profile" in the Miscellaneous section:
Site administration settings
Site policies
An administrator can force users to login for profiles and select which roles are visible in user profiles (by default teacher, non-editing teacher, and student) in Administration > Site administration > Security > Site policies.
Default profile page
An administrator or manager (or any other user with the capability moodle/user:managesyspages) can add additional blocks onto the default profile page for all users from Administration > Site administration > Appearance > Default profile page. Blocks can be added to the left, right, or middle of the page.
Note that this does NOT allow you to remove the following blocks, or to change the layout/order of these blocks:
-
- User details
- Privacy and policies
- Course Details
- Miscellaneous
- Reports
- Login activity
These are all ‘fake’ blocks and cannot be removed through the normal blocks administration interface.
Clicking the button 'Reset profile for all users' will then apply these settings to the profile pages of everyone on the site.
Creating an eLearning Course
What is a course?
Courses are the spaces on Moodle where teachers add learning materials and activities for their students. Courses may be created by admins, course creators, or managers. Teachers can then add the content and re-organize them according to their own needs. The links below the image will provide more information about creating, organizing and managing courses.
Adding a Course
By default, a regular teacher can't add a new course. To add a new course to Moodle, you need to have either Administrator, Course Creator, or Manager rights. Contact the Administrator.To add a course:
- From the Site administration link, click Courses>Manage courses and categories
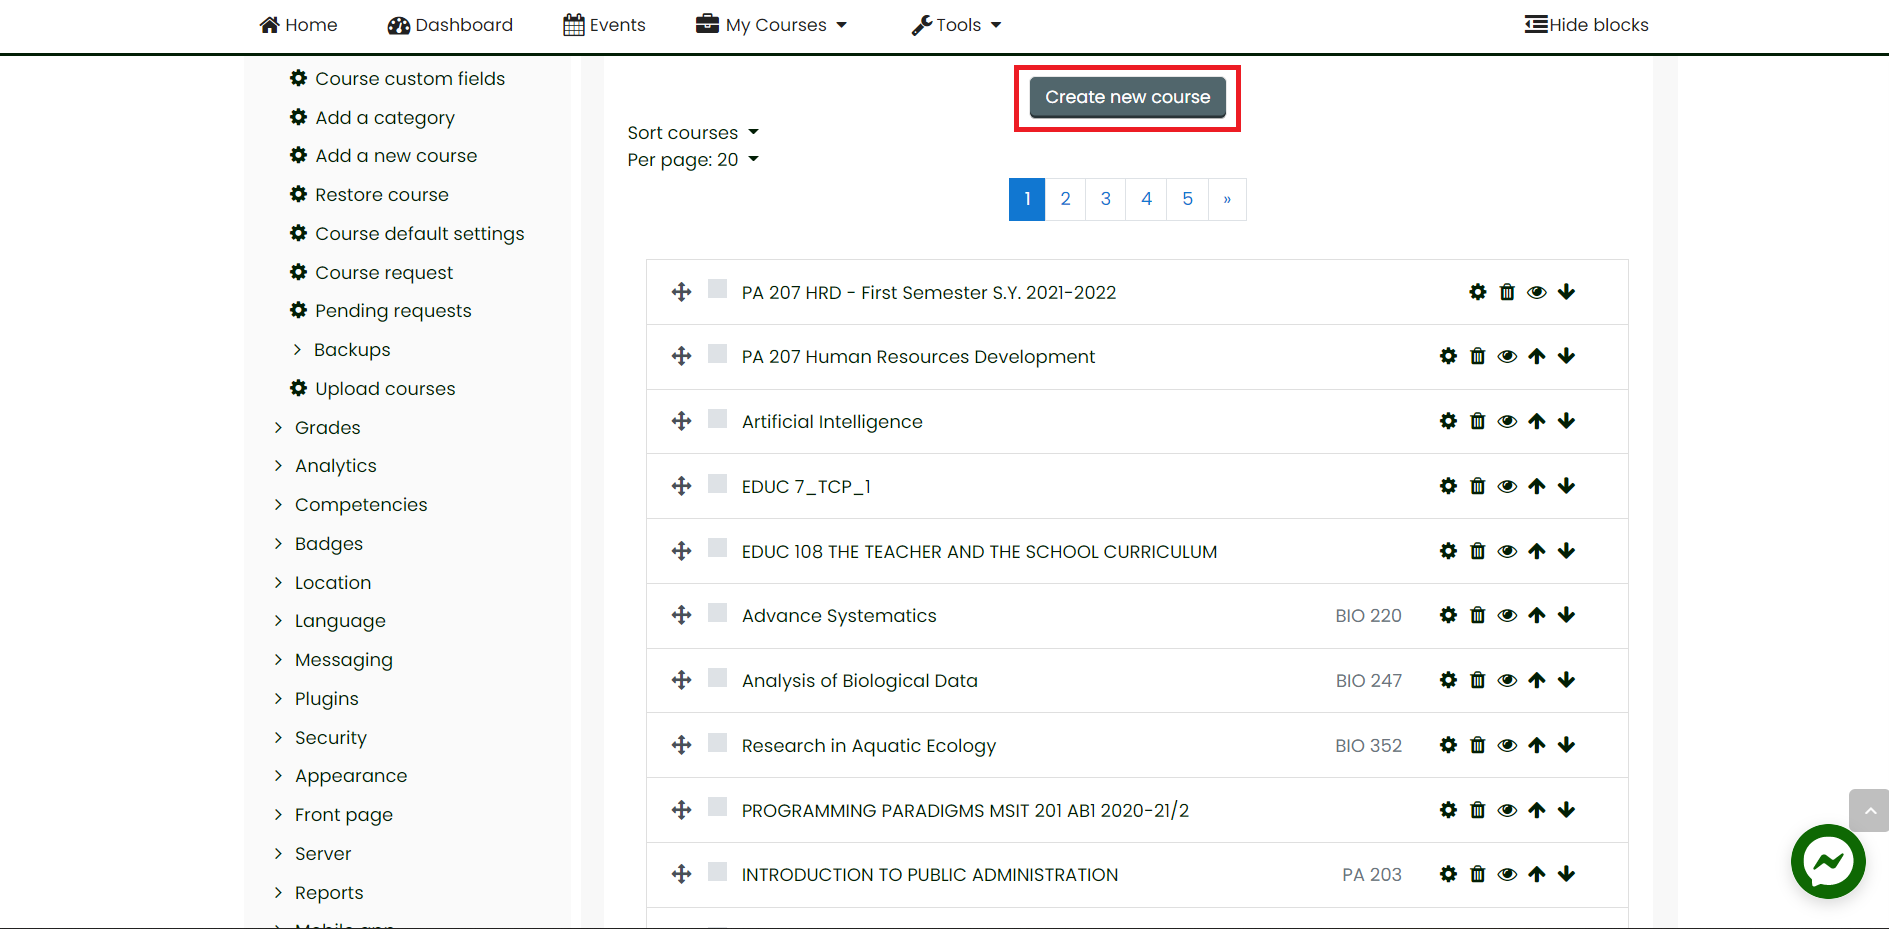
- Click on the category where you want your course to be.
- Click the "New course" link
- Enter the course settings, and then choose either to "Save and return" to go back to your course, or "Save and display" to go to the next screen.

- On the next screen, if you have chosen "Save and display", choose your students/teachers to assign to the course.
Deleting a Course
Teachers cannot delete courses. Managers (i.e. users with a role for which the capability moodle/course:delete is allowed) can delete courses and course creators can delete courses they have created themselves, but only within 24 hours of creating the course. This is so that courses created by mistake may be deleted without needing to ask an administrator.
Administrators can always delete courses.
To delete a course (as an admin or manager):
-
-
- From the Site administration link, click Courses > Manage courses and categories
- Click the course's category and click the course on the screen on the right.
- Click the Delete link.
-
You can delete multiple courses by:
-
-
- Creating a new (temporary) category. You can name it "To be deleted".
- Select and move the "About to be deleted" courses to that category ("To be deleted").
- Delete the category ("To be deleted") and choose "Delete ALL - cannot be undone"
-
Backup & Restore (Duplicate a Course)
1. Open the course you want to backup2. Go to "Administration Block" (Left side) and look for "Backup"
3. Click backup make sure to uncheck the *Include enrolled users
4. Click "Jump to final step"
5. Click "Continue"
6. Look for "User private Backup Area"
7. Look for the Backup file (Usually the upper topmost) or refer to the "Time" or "Name of the file"
8. Click "Restore"
9. Click "Continue"
10. In the "Restore as a new course" search for "National Service Training Program" then select
11. Scroll down to the bottom then click "Continue"
12. Click "Next"
13. In the Course Settings make sure to change the * Course name * Course short name * Course start date
14. Click "next"
15. Click "Perform Restore"
Done.
Managing Learners/Students
Add teachers and students
Note: Before you can add teachers and students, they must first have an account on your Moodle site.
Teachers and students are given their roles within each course, not for the whole site.
- Log in with your Course Creator/Manager account.
- Go to the course where you want to add teachers and students.
- From the left panel (Navigation drawer) click Participants
- Click Enroll users
- From the dropdowns, select the users you want and the role you want to give them:
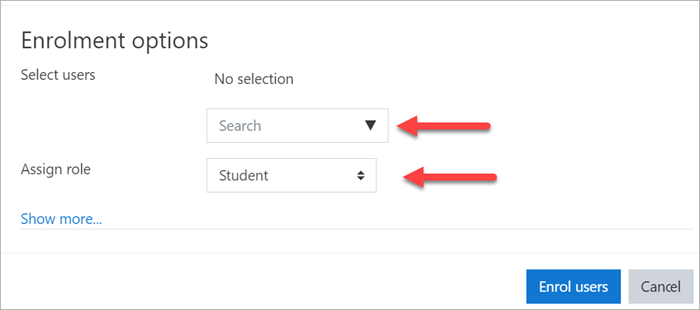
Click Enrol users.
Bulk enrollment
For a less hassle enrollment you can use the "Bulk Enrollment" option. You will find it in the Administration block located at the left side of the website. If you don't see the Administration block please click on ![]() icon.
icon.
- Log in to your MyWork Account and click on "LMS Class List"

- Click on "Generate Class list" and search for the section to be display.
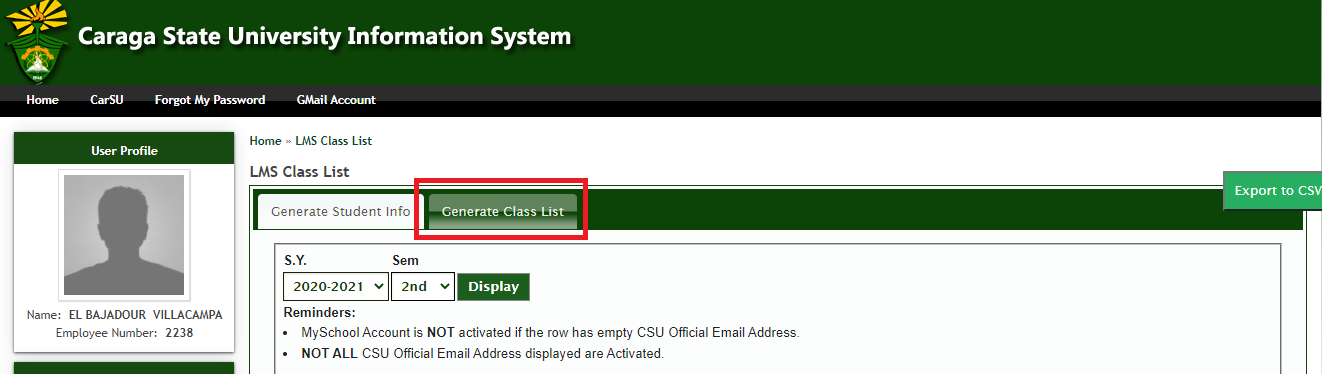
- Once you've selected the section you want to export. Now click on "Export to CSV."
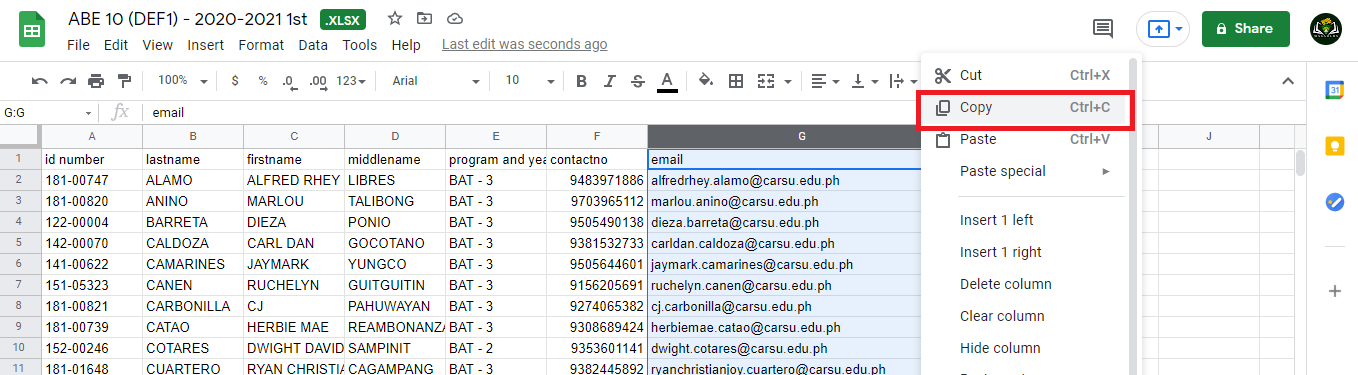
- Open the excel file and copy the student CarSU email addresses.
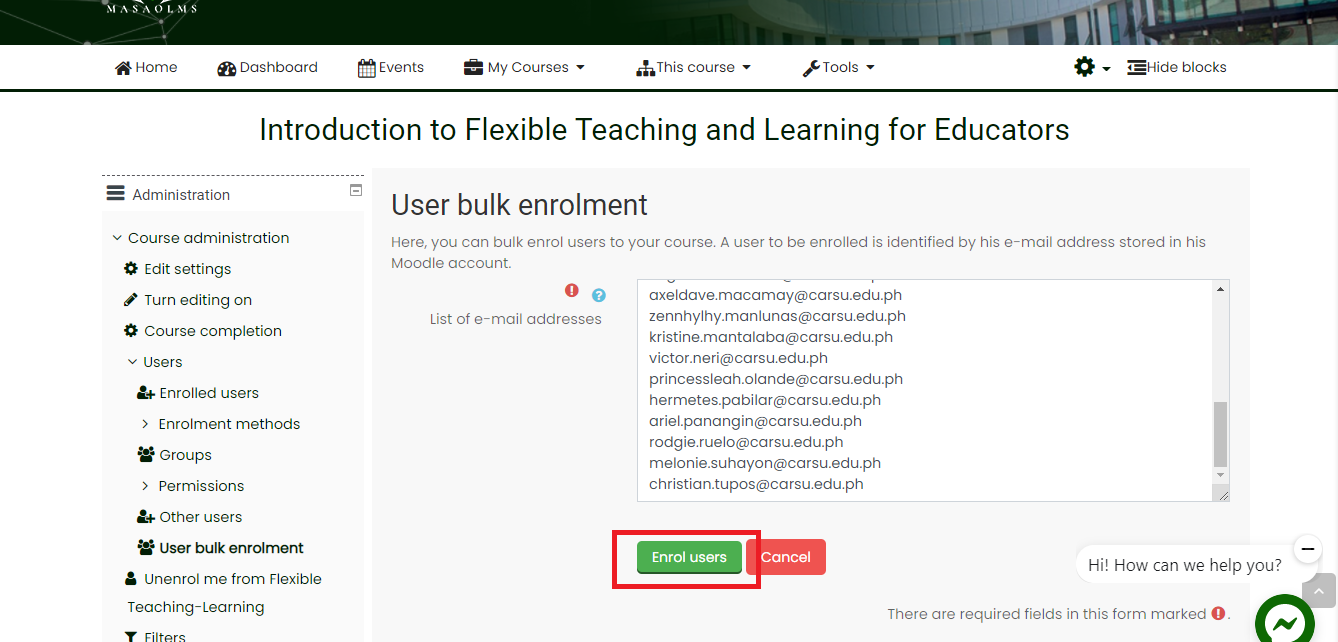
- Now, log in with your masaLMS account. Go to your subject/course and click on "User bulk enrollment"
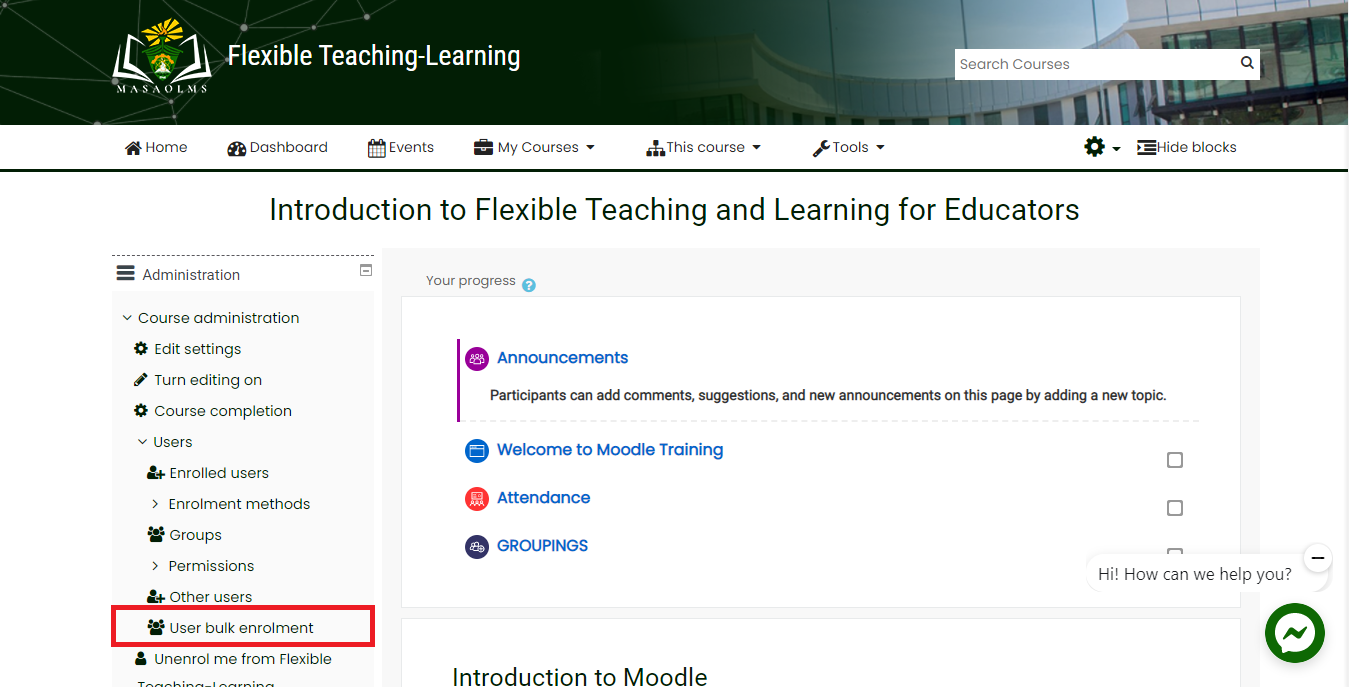
-
Paste the email addresses on the box provided and click "Enroll Users"
Enroll Multiple Section in one Subject
User bulk enrollment allows a course administrator to manually enroll
multiple users as students in a course simultaneously. This is
especially useful for courses that do not use UES enrollment methods. In
order to use this method, you must have a list of user email addresses
that you can copy and paste into Moodle.
To bulk enroll multiple sections in one subject:
- Log in to your MasaoLMS Account and go to the course where you want to enroll the students. Click on "User bulk enrollment."

On the user bulk enrollment page, enter the existing Moodle user email addresses you wish to enroll, one email address per line, in the text box. Note that the user must already have a Moodle profile (i.e., previously logged in) to be enrolled through this tool.
Optionally, you are able to create groups and add the users to the groups as they are enrolled. To do this, add a heading line with a hash sign (#) and the group’s name to separate the lists of users.

Click Enroll users.
On the next screen, verify that the information is correct. If any email addresses are not associated with an existing Moodle user, you will see a hint that a new Moodle user account will not be created, and the email address will be ignored. All blank lines will also create a hint that these lines will be ignored. Separate notation will indicate whether a user has already been enrolled in the course.

- Click Enroll users again to finish the bulk enrollment process.
You will be automatically routed to the enrolled users list, where you can verify enrollments.
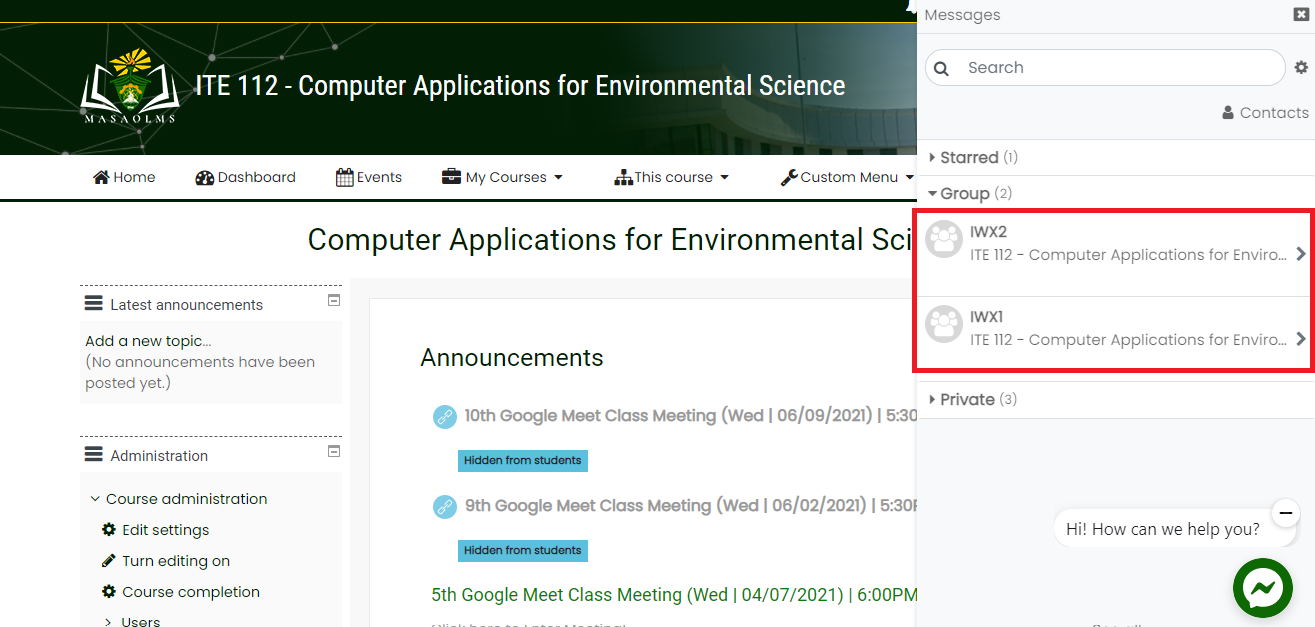
Enable Group Messaging Chat (For Teachers)
Enable Group Chat with your Students. Student who are enrolled on a subject will be automatically added once you enable the "Group Messaging."
- Go to the subject/course that you want to enable Group Chat
- Navigate to Administration Block on the left side. If you don't see the Administration block please click on
 icon.
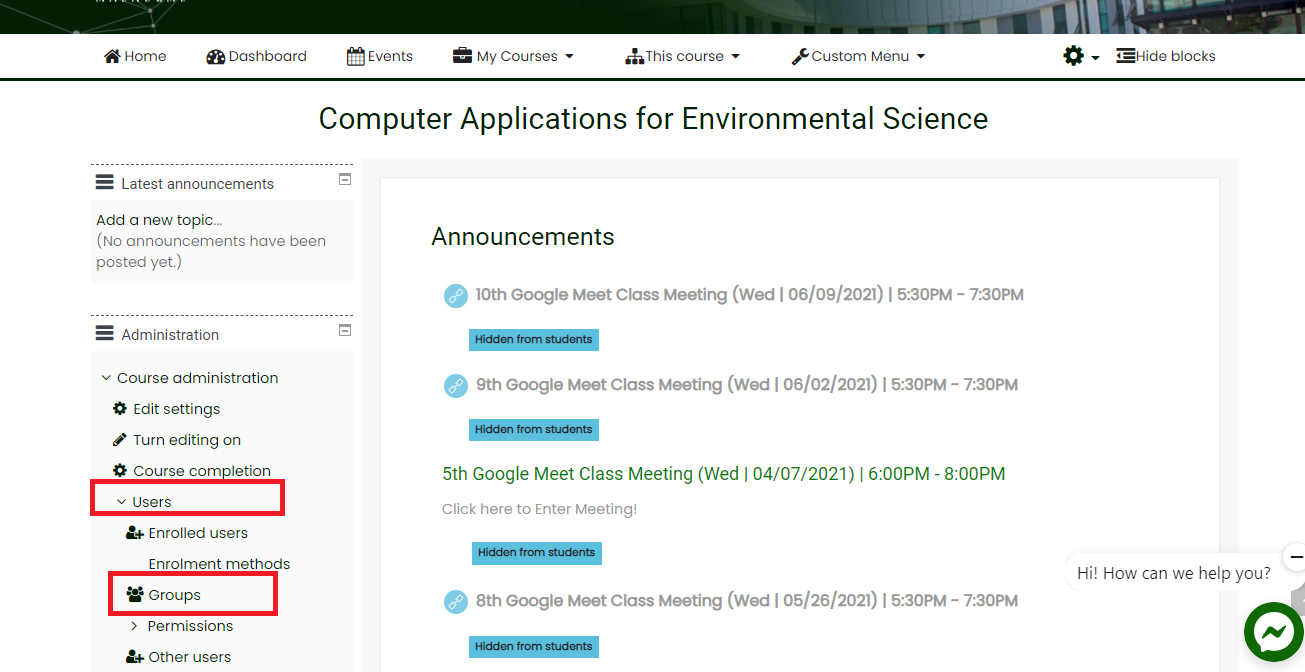
icon. - Click on Users -> Groups
- Select the section and click Edit Group Settings
- On the settings, hover down and look for Group messaging option change No to Yes
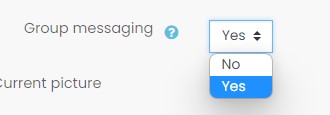
- Click Save Changes.
- The same steps apply if you have multiple sections.